
How to Make a Green Water Culture
How to make a green water culture is worth learning before you need a steady supply of live food. A jar that turns green by chance may be hard to repeat, especially when young fish need feeding each day. This method uses a known freshwater algae starter so you can track what you are growing and keep a backup.
Start a separate batch with algae, light, and measured nutrients
Gather: two clean, clear containers, a live freshwater algae starter intended for aquatic feed, its recommended culture nutrients, suitable water, a light with a timer, and a clean measuring syringe. Gentle aeration is useful for a larger jar.
- Prepare the growing container. Use a clean food-safe jar or bottle with room for mixing at the top. Keep fish, snails, and other animals out of it.
- Mix the water and nutrients. Follow the starter supplier’s freshwater recipe and measure for the actual water volume. Use dechlorinated water if the instructions allow tap water; some cultures need a different water source.
- Add the living starter. Use the supplier’s starting ratio. Do not substitute bottled algae-killing treatments, marine phytoplankton, or spirulina powder for a live freshwater culture.
- Provide steady light. A 16-hour light period followed by eight hours of darkness is a starting point for many green algae. Keep the container out of hot direct sun and follow the strain’s temperature range.
- Keep cells in suspension. Gently swirl a small jar each day or use light aeration. Avoid violent bubbling and splashing.
- Grow, then divide. When the culture is actively growing, use part to start the backup jar in fresh medium. Harvest small portions from the main jar and replace them with freshly prepared medium.
Keep culture water separate from the fry tank. Its main use in this plan is feeding live-food animals such as Moina or Daphnia, which can then be harvested at a size the fish can eat. Do not rely on green color as proof of a complete diet for goldfish fry.
Choose a freshwater starter with clear instructions
Green water contains tiny suspended algae. For a repeatable home batch, choose an identified freshwater strain, such as a suitable Chlorella culture, from a supplier that gives feed-use and growing instructions.
Check the water type, nutrient dose, starter ratio, temperature, and harvest directions before buying. A starter sold only for classroom observation may use a medium that the seller has not approved for feeding animals.
For context, Carolina’s Chlorella growing specifications use a freshwater medium and an optimum of about 72°F (22°C). These are strain-specific instructions, not a temperature rule for every green organism.
There is no safe universal fertilizer dose for every product. A concentrated nutrient mix and a ready-to-use medium are different things. If the recipe gives a dose per liter, scale it to your measured volume with a syringe rather than estimating drops.
Give the culture light without overheating it
Set the lamp on a timer. Carolina’s algae care guide recommends a 16-hour light and eight-hour dark cycle for most of its algae cultures. The correct intensity still depends on the strain, lamp, and container.
Check water temperature after the light has been on for a few hours. Move the lamp farther away if it is heating the jar. A sunny window can change temperature much more than a shaded indoor shelf.
Use a loose cover that allows gas exchange while keeping dust and insects out. Keep a dedicated pipette for each batch. Tank water, nets, and feeding tools should not go back into the stock culture.
Harvest while it is growing and keep a backup
Compare the jar against a white background each day. Increasing, evenly mixed green color can help you follow growth, but it does not identify the algae or prove that the batch is safe. Use the starter’s history and supplier’s harvest guidance too.
Record the start date, water volume, and nutrient dose. Start the second jar while the first is still growing, rather than waiting until it fails. Keep enough stock to restart, and do not mix a suspect batch into the backup.
The FAO guide to algal production describes how overheating, nutrient shortages, and contamination can cause a culture to collapse. It also explains the value of keeping separate starter stocks.
Find the cause when a batch stops growing
| What you see | What to check or change |
|---|---|
| Water stays pale | Check that the starter was alive, then review light, temperature, water source, and nutrient measurements. Do not keep adding fertilizer blindly. |
| Growth only on the walls | Attached growth is not the suspended crop you wanted. Restart with a known live starter. |
| Green color clears suddenly | Look for contamination or grazing animals. Keep the backup separate and restart from healthy stock. |
| Rotten smell, heavy slime, or milky water | Do not feed it. Discard the batch safely, clean the equipment, and start again. |
Starting without a culture is possible if suitable algae are already present, but you cannot control what grows from unknown pond water or waste. It is a poor backup for fry that need food now. Avoid recipes based on rotting food, garden fertilizer, or keeping a fish in a small jar to supply waste.
Use the algae to support a fry-food supply
Moina and Daphnia eat suspended food, including algae. University of Florida IFAS describes Moina culture, including the benefits of growing its algae supply separately. Young Moina can fit smaller mouths than adults, so check prey size before feeding.
Feed the algae to the live-food culture in small amounts, then harvest the animals with suitable fine mesh. Transfer the food rather than pouring a large volume of nutrient-rich culture water into the nursery.
If eggs are already in your aquarium, start with what to do when goldfish lay eggs. The goldfish breeding simulator lets you practice this first-food decision. For real fry, have food ready before they swim freely; do not wait for an algae jar to turn green.

Home fish breeder sharing practical aquarium, egg-care, and fry-raising methods.
Related guides
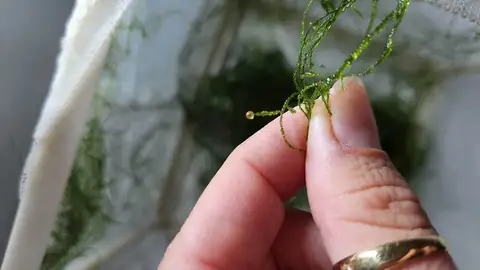
What to Do When Goldfish Lay Eggs
Found eggs after a spawn? Protect them from the adults, prepare a nursery, and recognize when the young are ready for their first food.
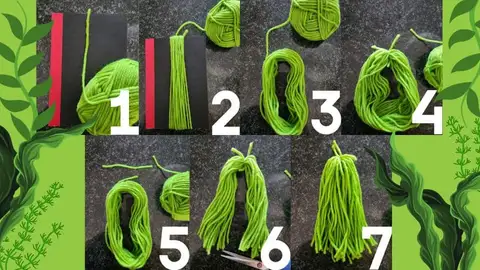
How to Make a Spawning Mop for Goldfish
Turn acrylic yarn into an egg-collecting tassel with a book, scissors, and a suction cup. Follow the steps and check the finished mop before use.
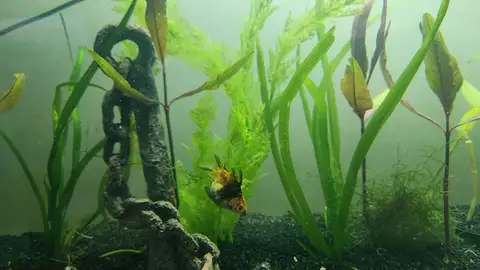
Goldfish Tank Mates That Live Well Together
Compare Fantails, Orandas, Black Moors, and single-tailed varieties, plus the conditions for keeping snails or schooling fish with them.